
Now and again, dash lights blow. Being a 24v vehicle, and having a dashboard that is fiddly to pull apart, broken globes get left unreplaced.
This project was to replace all the incandescent dashboard lights with 24v LED's. Acknowledgement to the IH8MUD forum for the ideas. What I couldn't find on the forums was a set of pictures and details of the LED's that were needed.
What I bought.
Selecting the LED's was confusing. First I had to choose a colour for the speedo lights. The standard lights have a little green condom for want of a better word over the top of the glass lens. This makes a green glow in the dash, but when replacing them, you can choose any colour you like that comes in LED. I chose Red. Partly because it looked nice in a setup I saw on the IH8MUD forum, and partly because I needed to buy some red LED's to go behind the warning lights - brake, alternator etc, so figured I might buy the same colour for the speedo and instrument cluster.
Ebay got my business and the seller was geizland-AU-Shop. Not saying they are any better than others, and given the way ebay shops come and go, they might not be in existence when you try to buy from them.
I needed 24v LED, which I had to be careful to select.
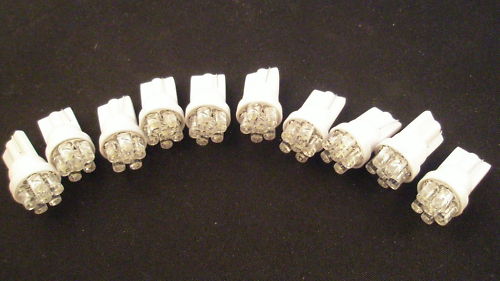
Not sure of the numbers of globes I needed I bought a 10 pack of each set.
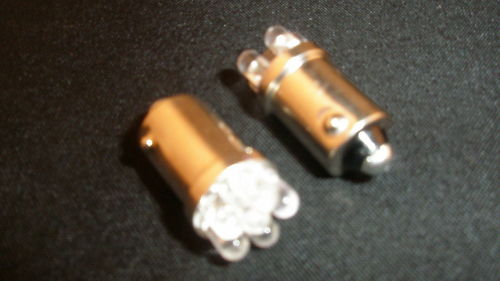
6er LED Dashboard T10 24V White - Note the T10 means they are 10mm wide
6er LED Dashboard T10 24V Red

These are an easy replacement for the T10 24v incandescent globes.

They are bright enough. The Red lights also went behind the warning lights for the handbrake and alternator. If I had put white behind them I think they would have looked a bit insipid, washed out. Red LEDs make them nice and well, red.
LED Dashboard T5 286 24V White - Note the T5 means they are 5mm wide
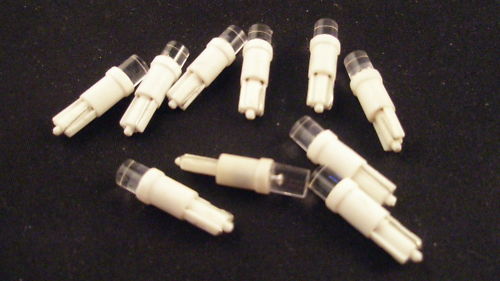
These replace the little T5 incandescents inside a couple of the switches.
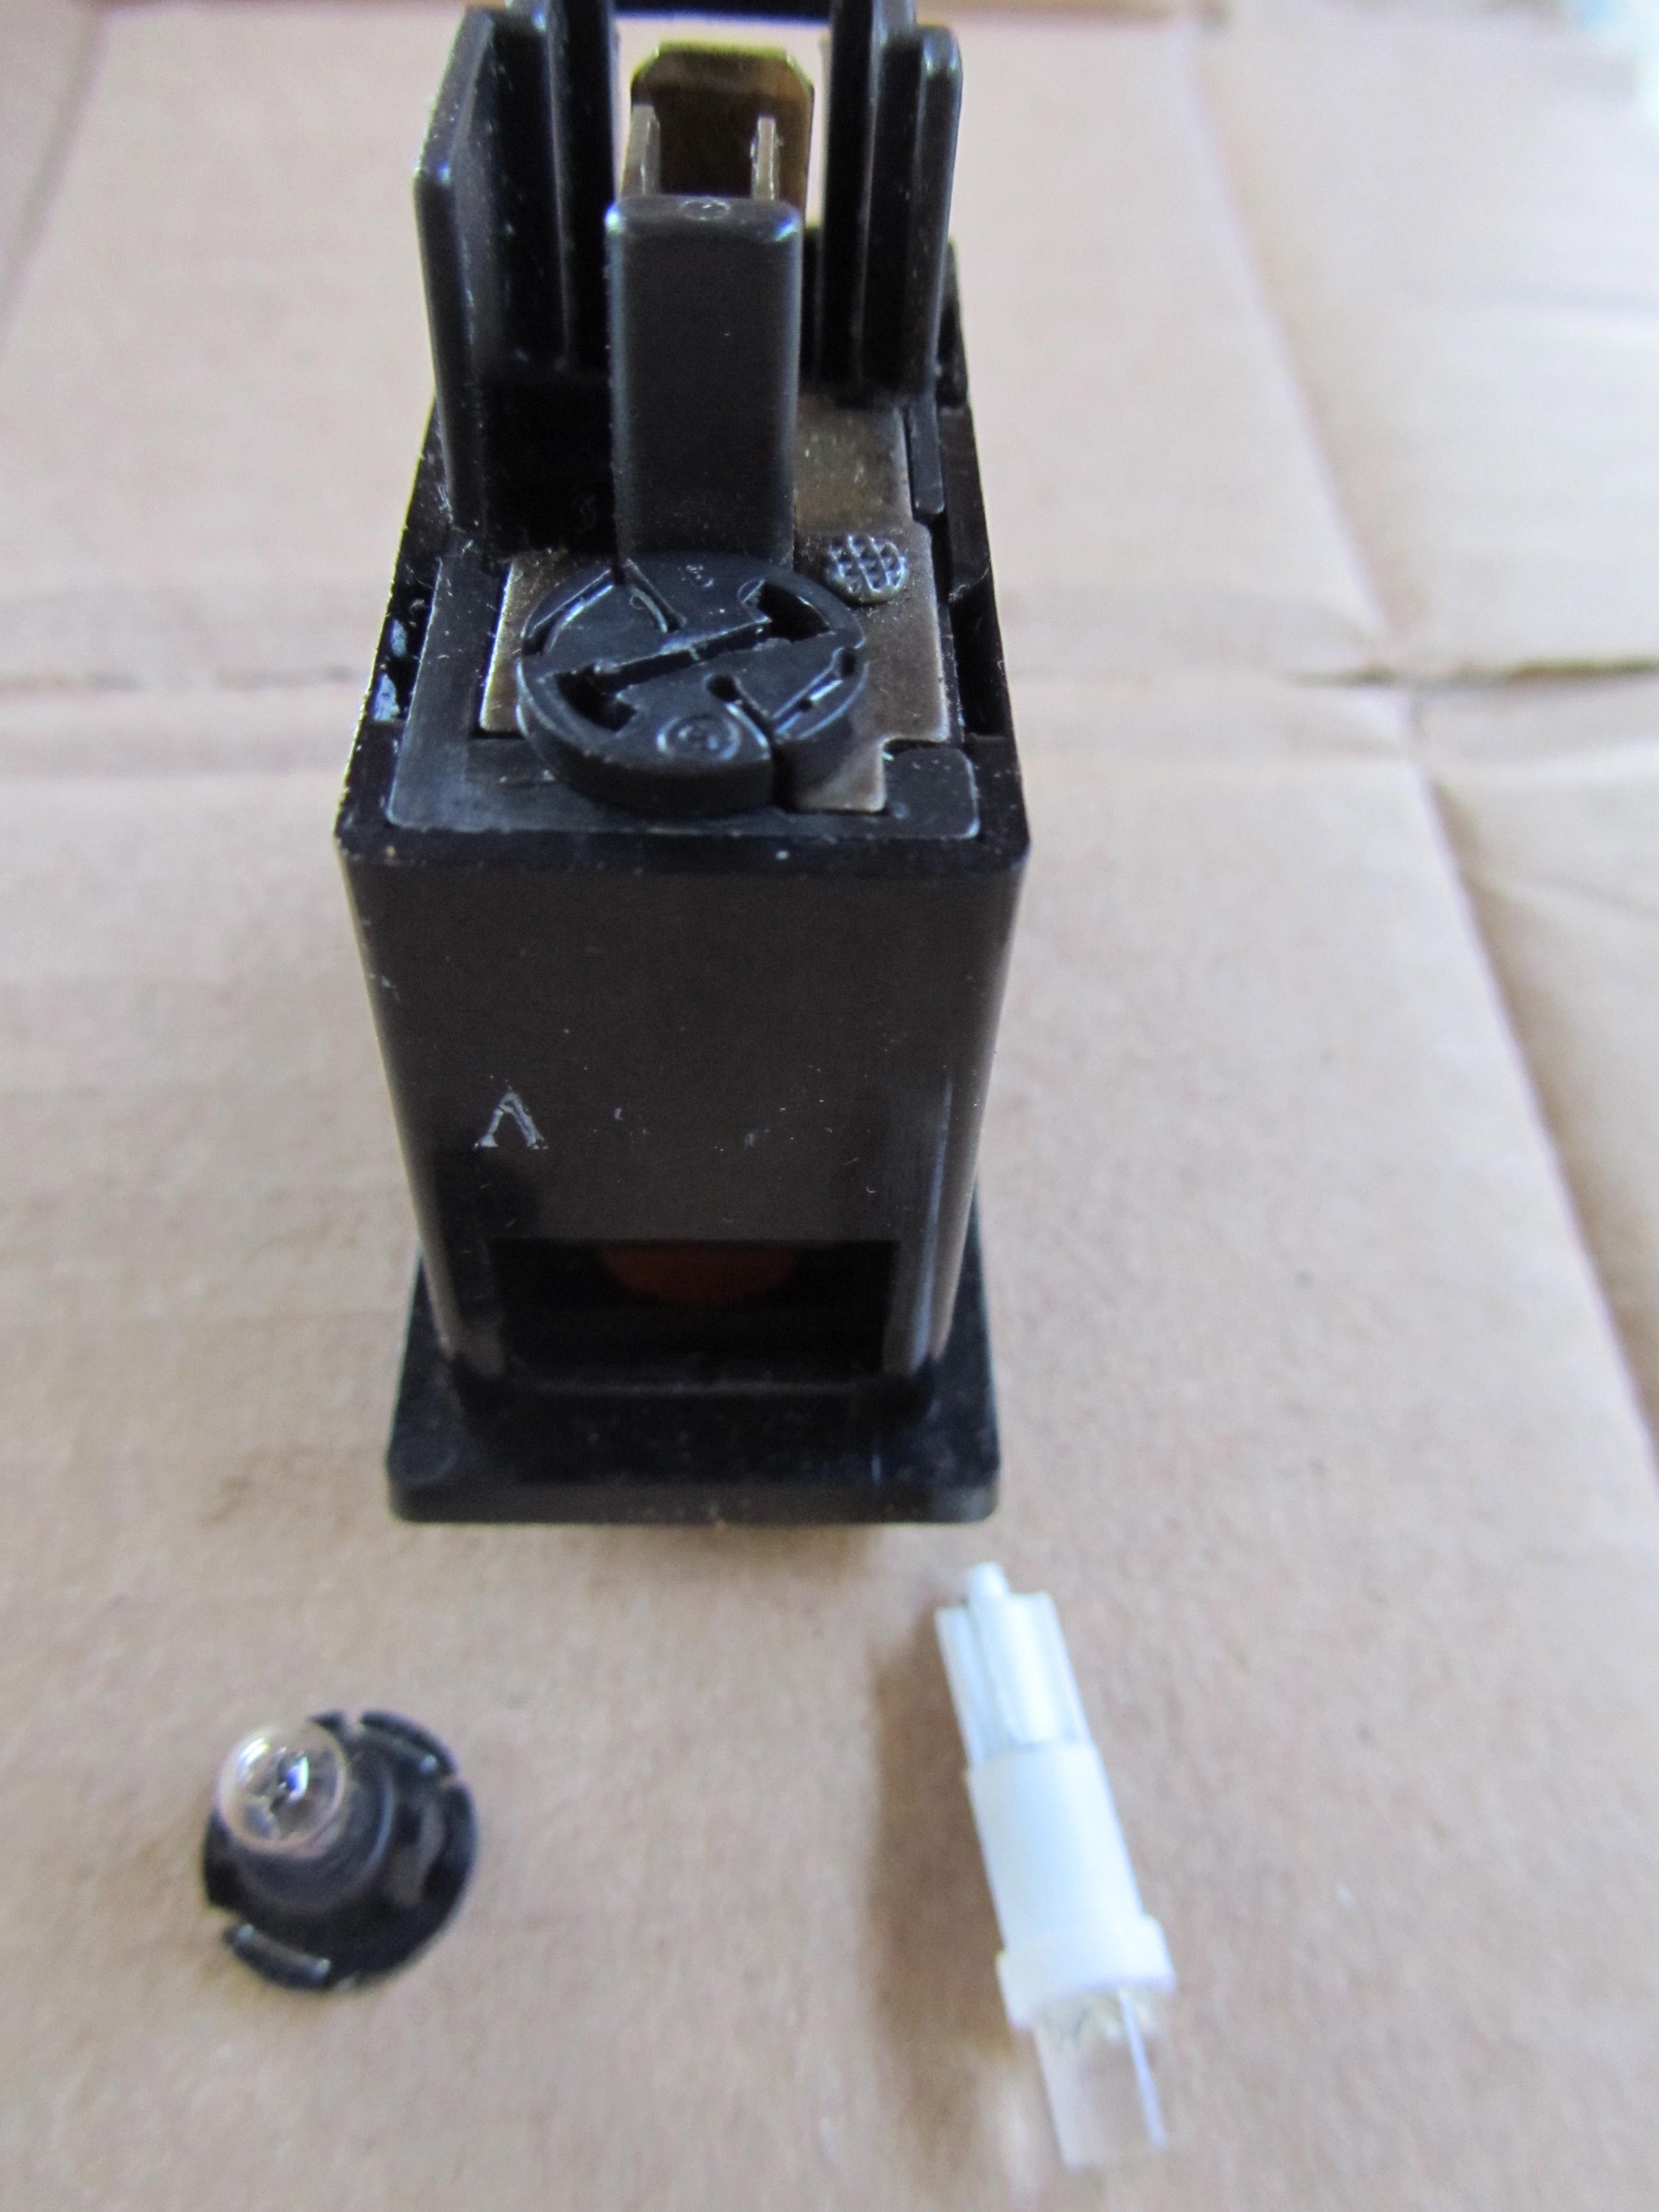
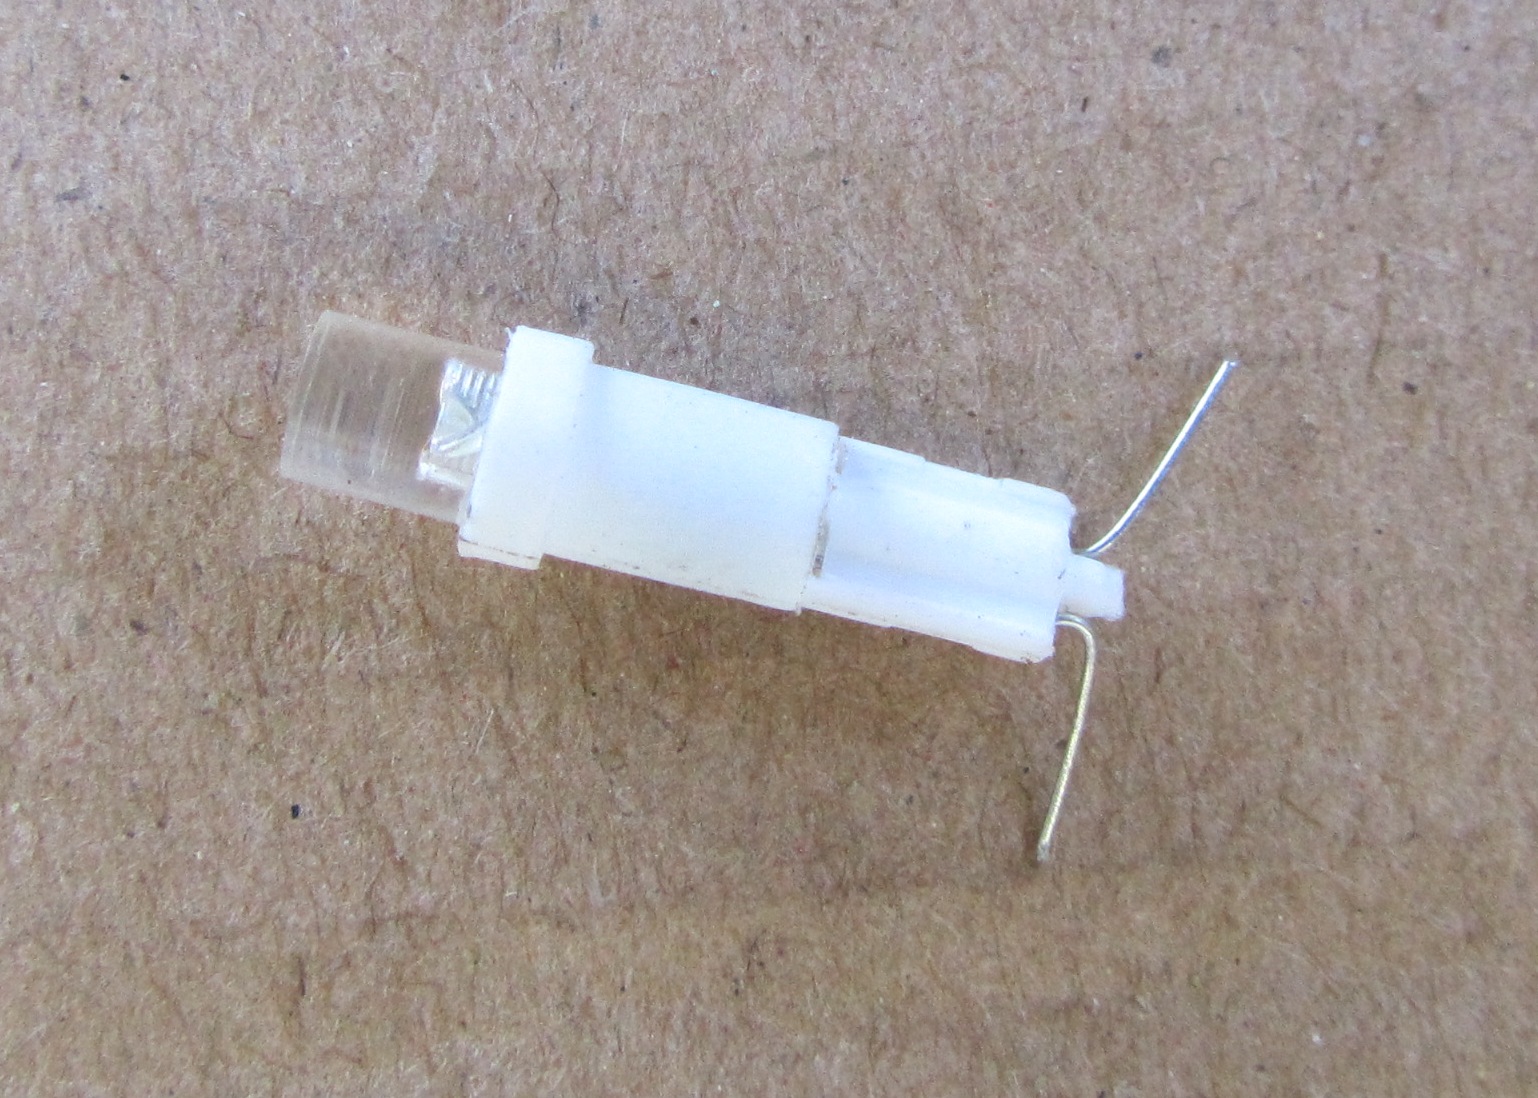

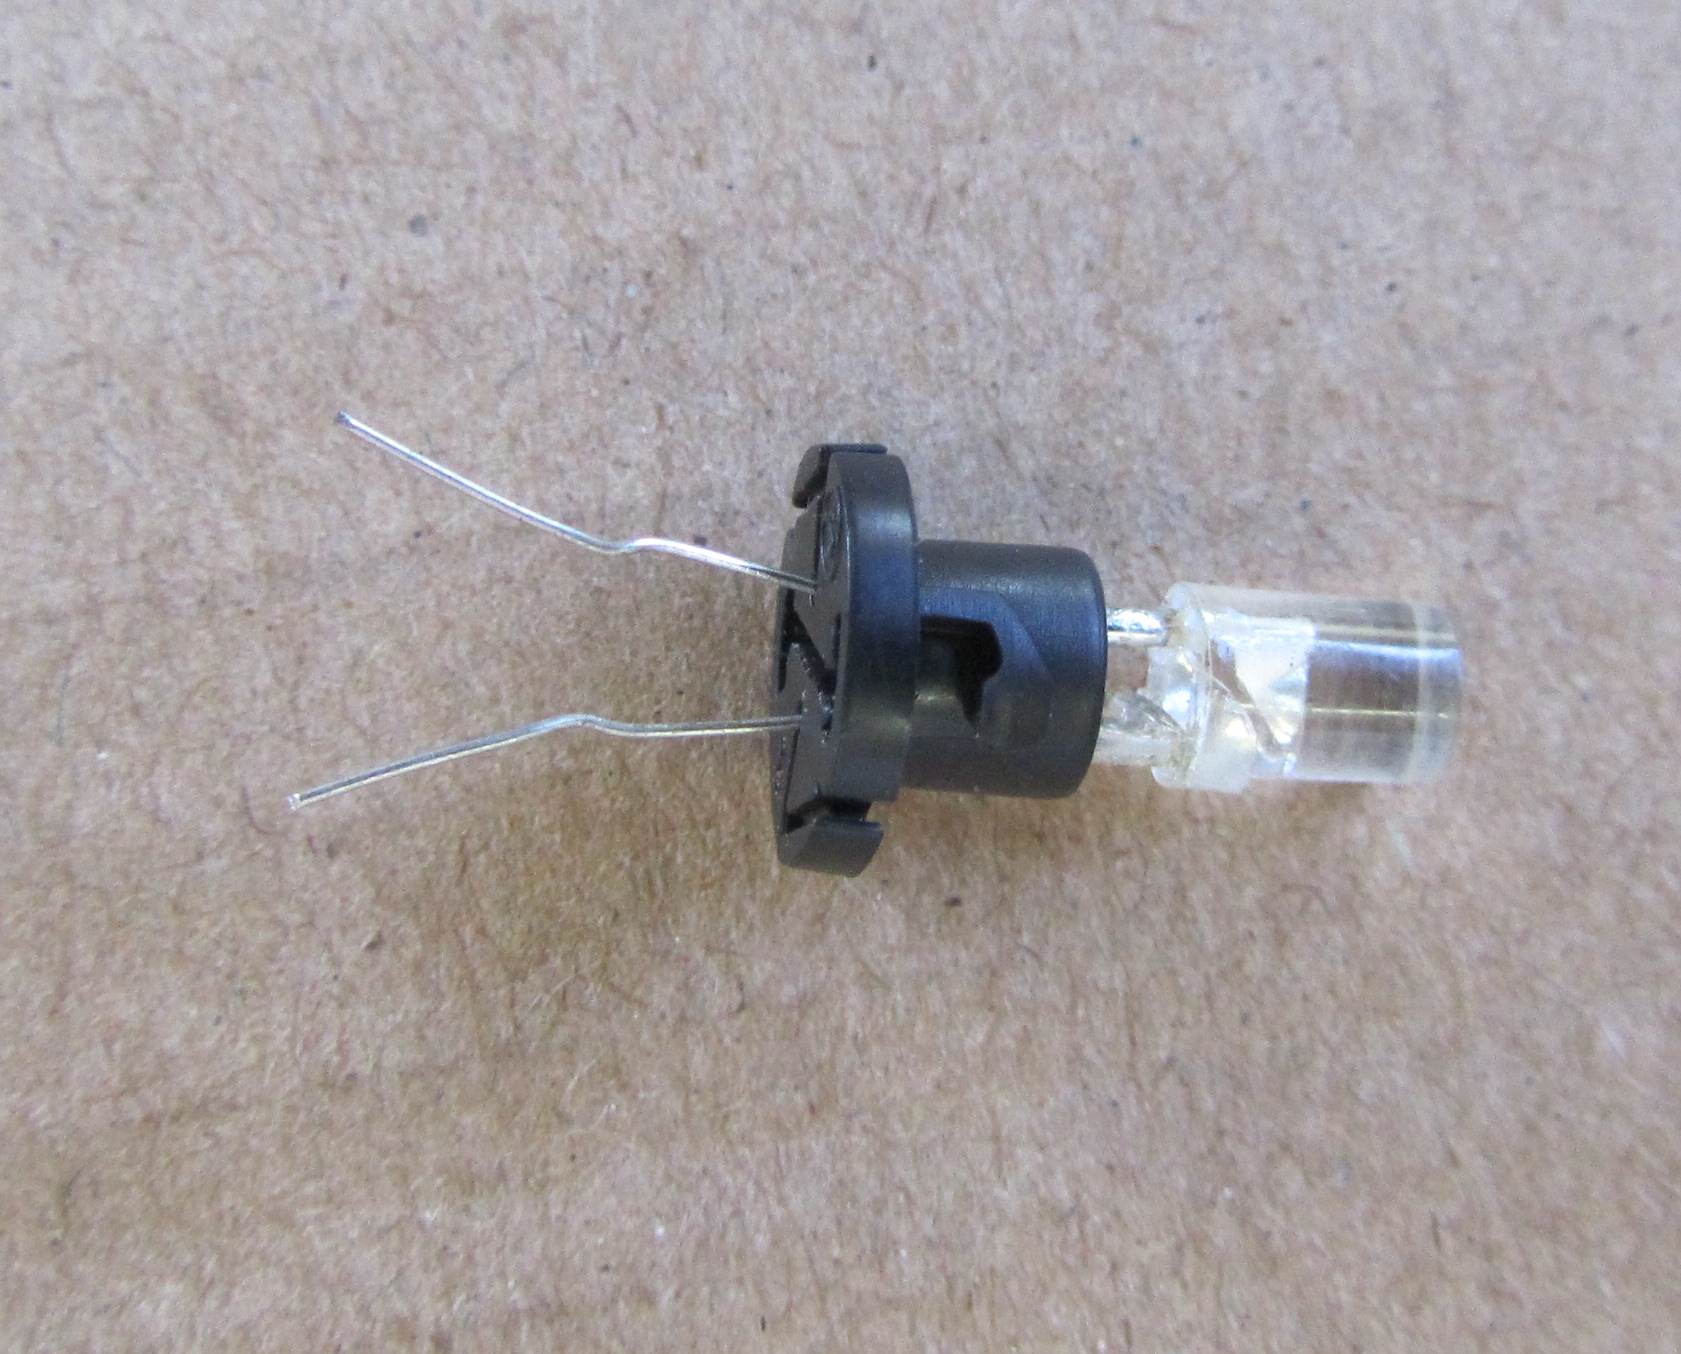
6er LED Dashboard T10 BA9S 24V white Light - Note these are 10mm wide small bayonet lights.
They fit into the overhead console. Not really the most suitable shaped light for here. The incandescent globe shines out all around, whereas the LED is directional. I'll keep my eye out for a better replacement, but it might end up being a modification of the fittings and soldering a new globe in place pointing straight down.

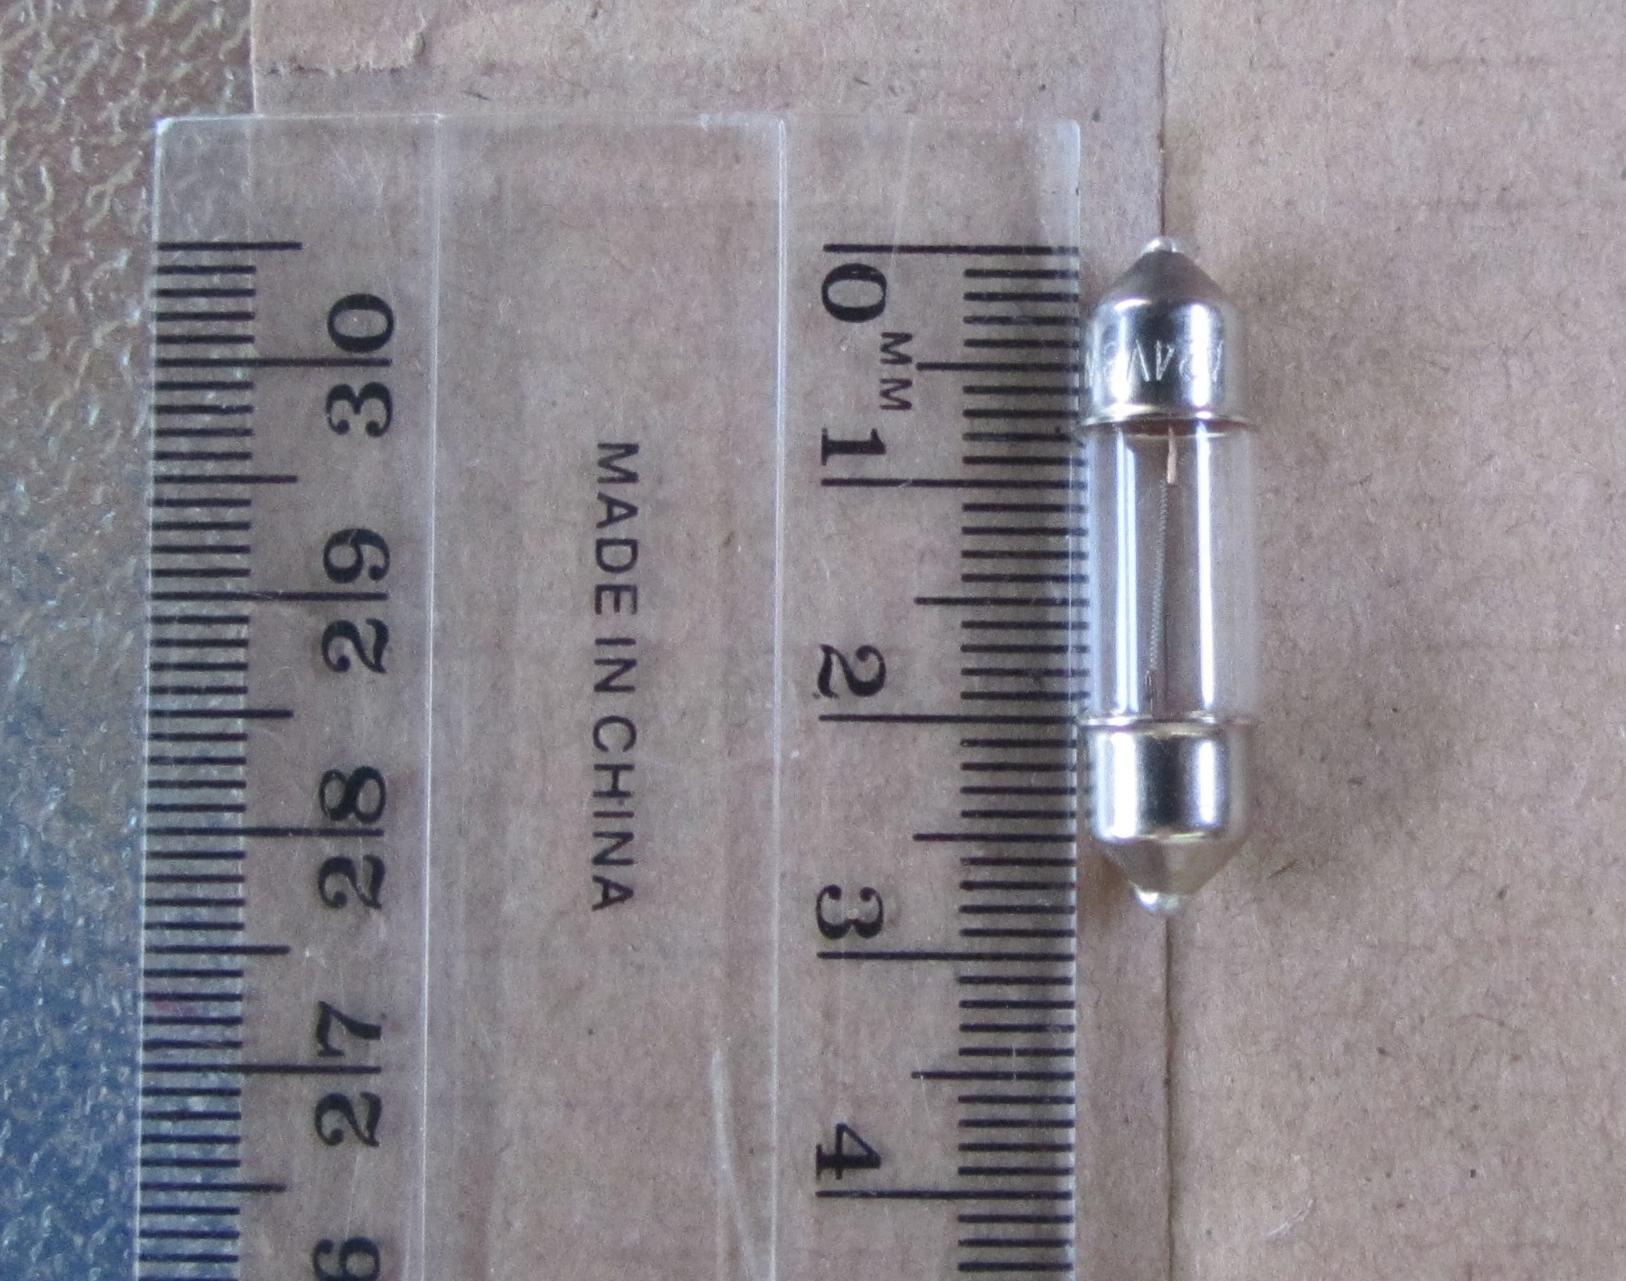
Later I found a festoon light behind the heater control panel and BrightLight Auto Parts had the one I needed. They have a good selection of 12v LED's but not much in 24v, and they are more expensive that China sourced products. I chose 31F8SMD1P 31mm Festoon 8 SMD Style with 4 SMD chips on each side enabling light to shine 360 Degree. This was to replace a 29mm festoon that was slightly thinner, but with help, it fitted. I chose this festoon because it had SMD either side, which suited the positioning needed for this light.

In place. See how the SMDs are on either side of the globe, throwing the light out sideways which is where it is needed for this panel behind the heater controls.

And whilst I was on a roll, I bought a pair of 5W Cree Q5 BA15S 24V power Led white for the reversing lights. These were not cheap, but I was really needing extra light power when reversing, and these do the job.

These needed a bit of work before they would fit the housing. I had the tools, a die grinder, and the lights are great, but an alternative that was a direct plug and play would be better if you don't want to muck around.
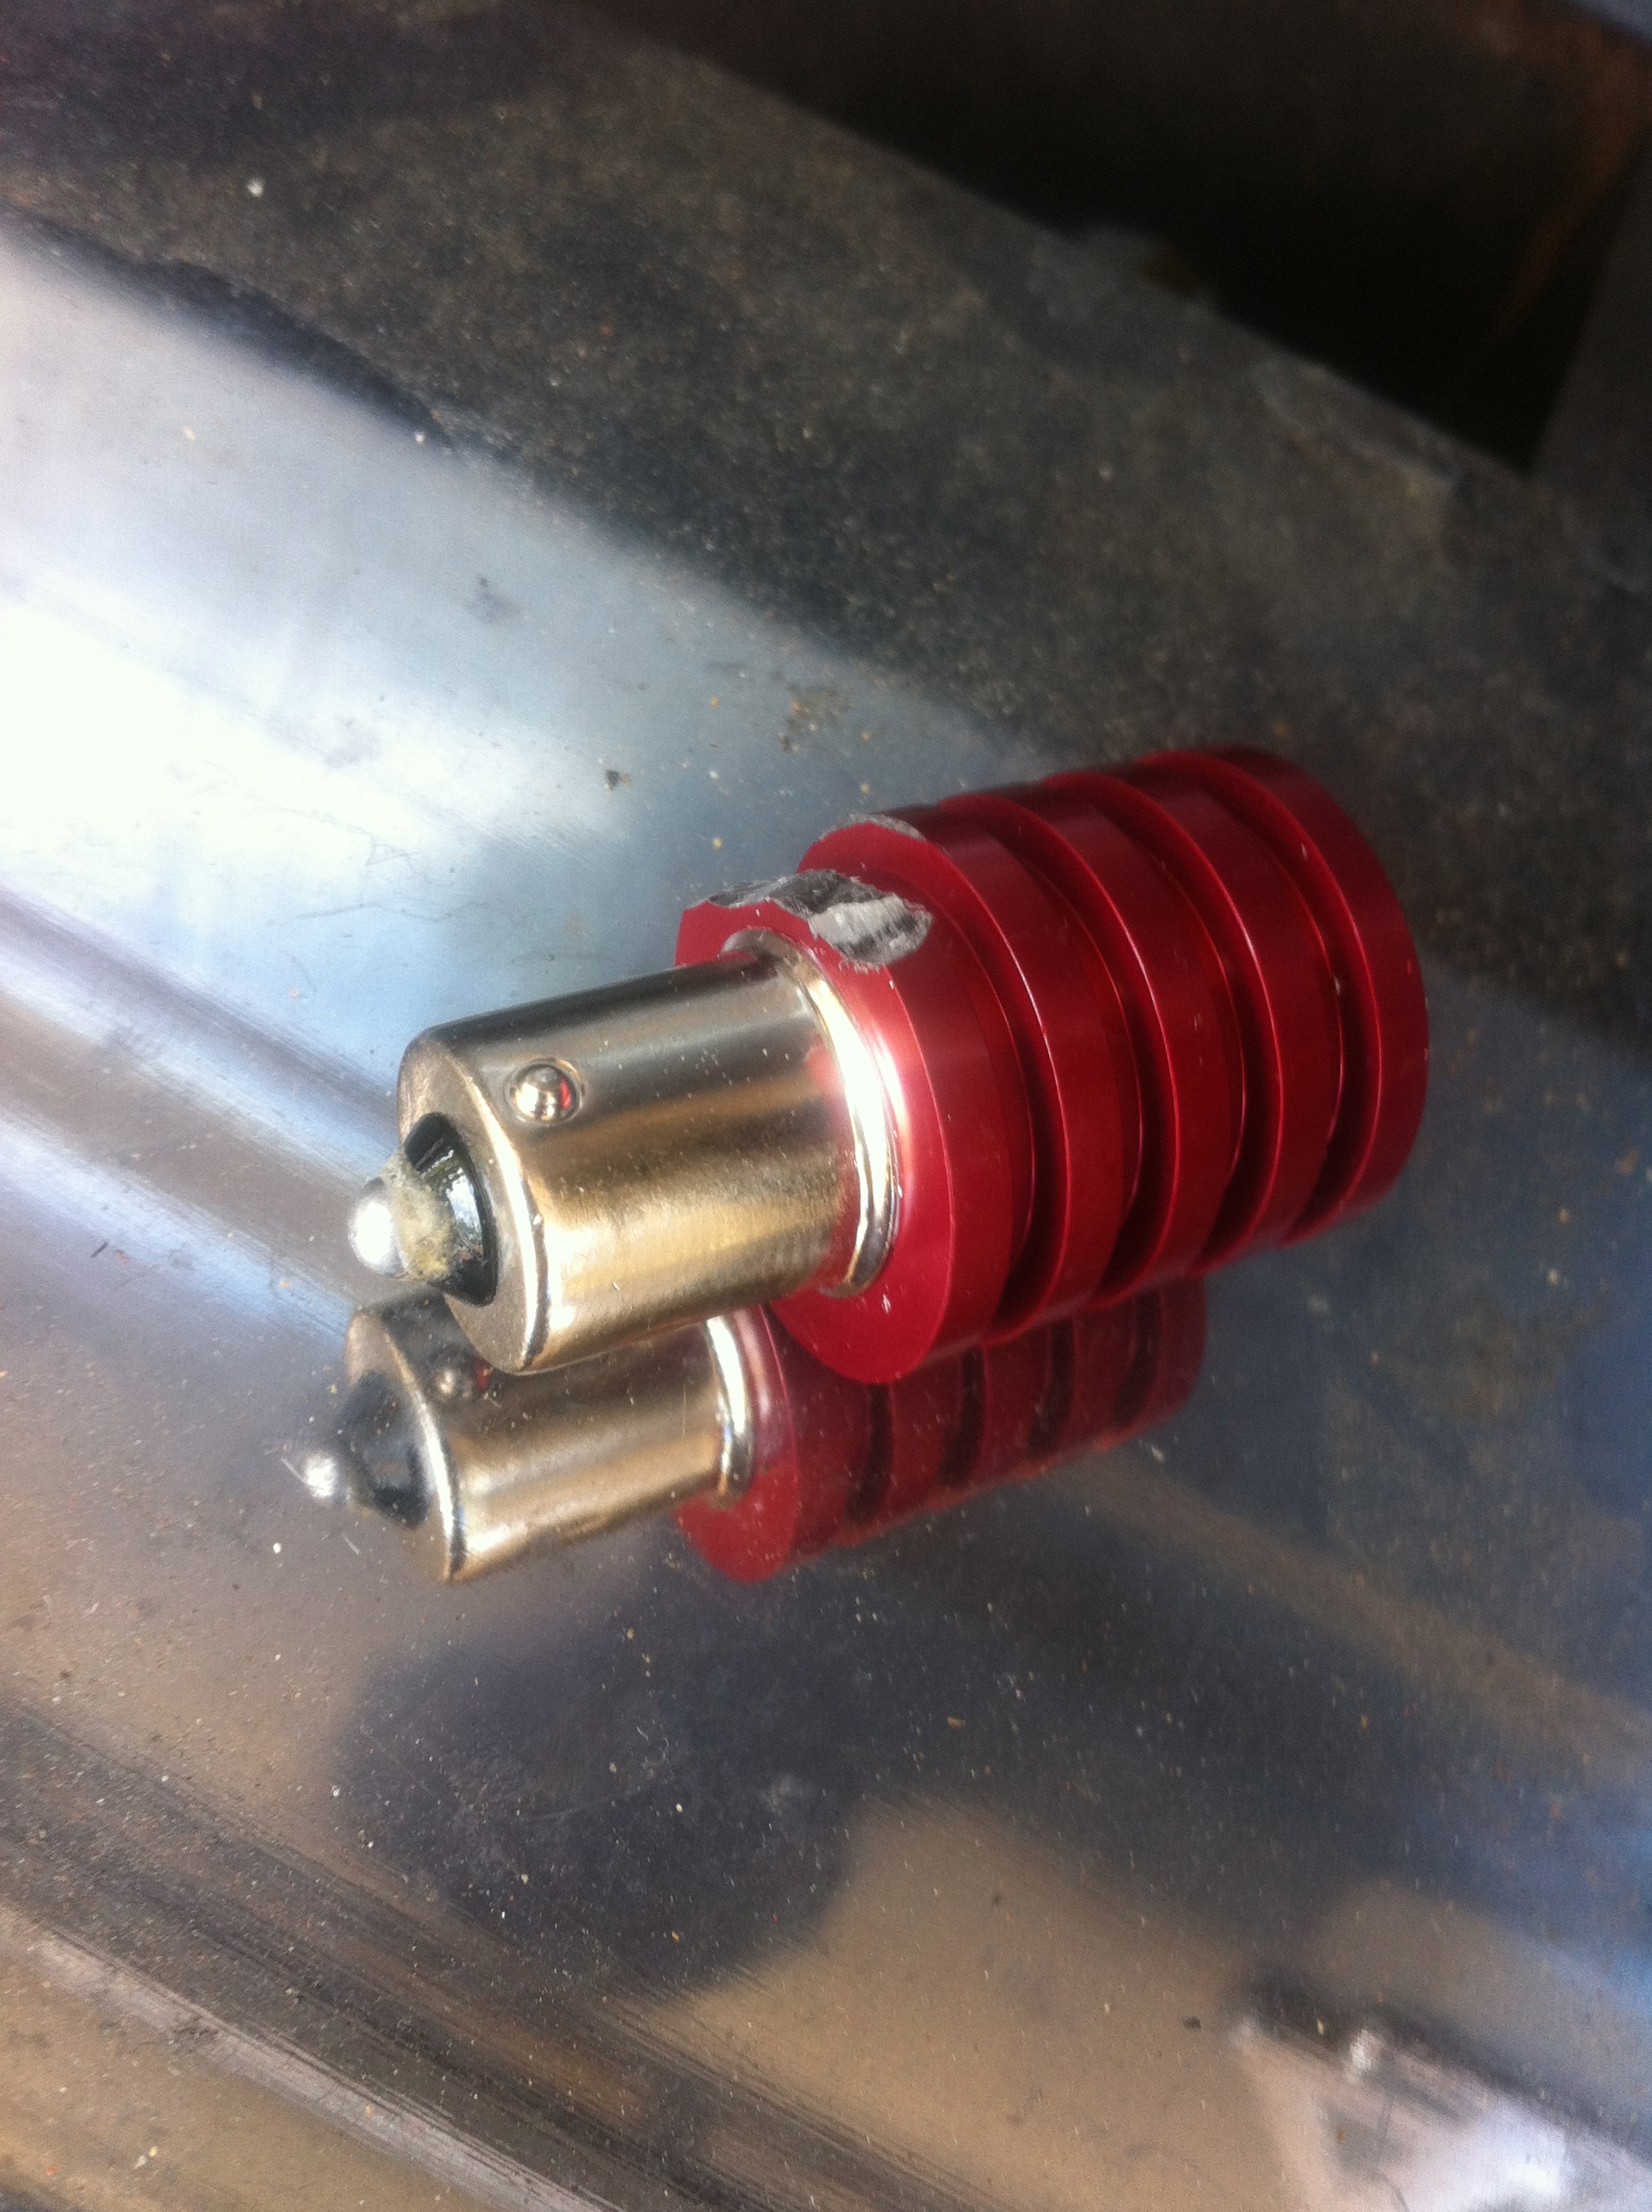
This photo shows the work part done. The lower ring of the heat sink needs to be removed all the way around. With care, I achieved a good fit and didn't damage the lights by overheating them - or my fingers that were holding on to the red heat sink!
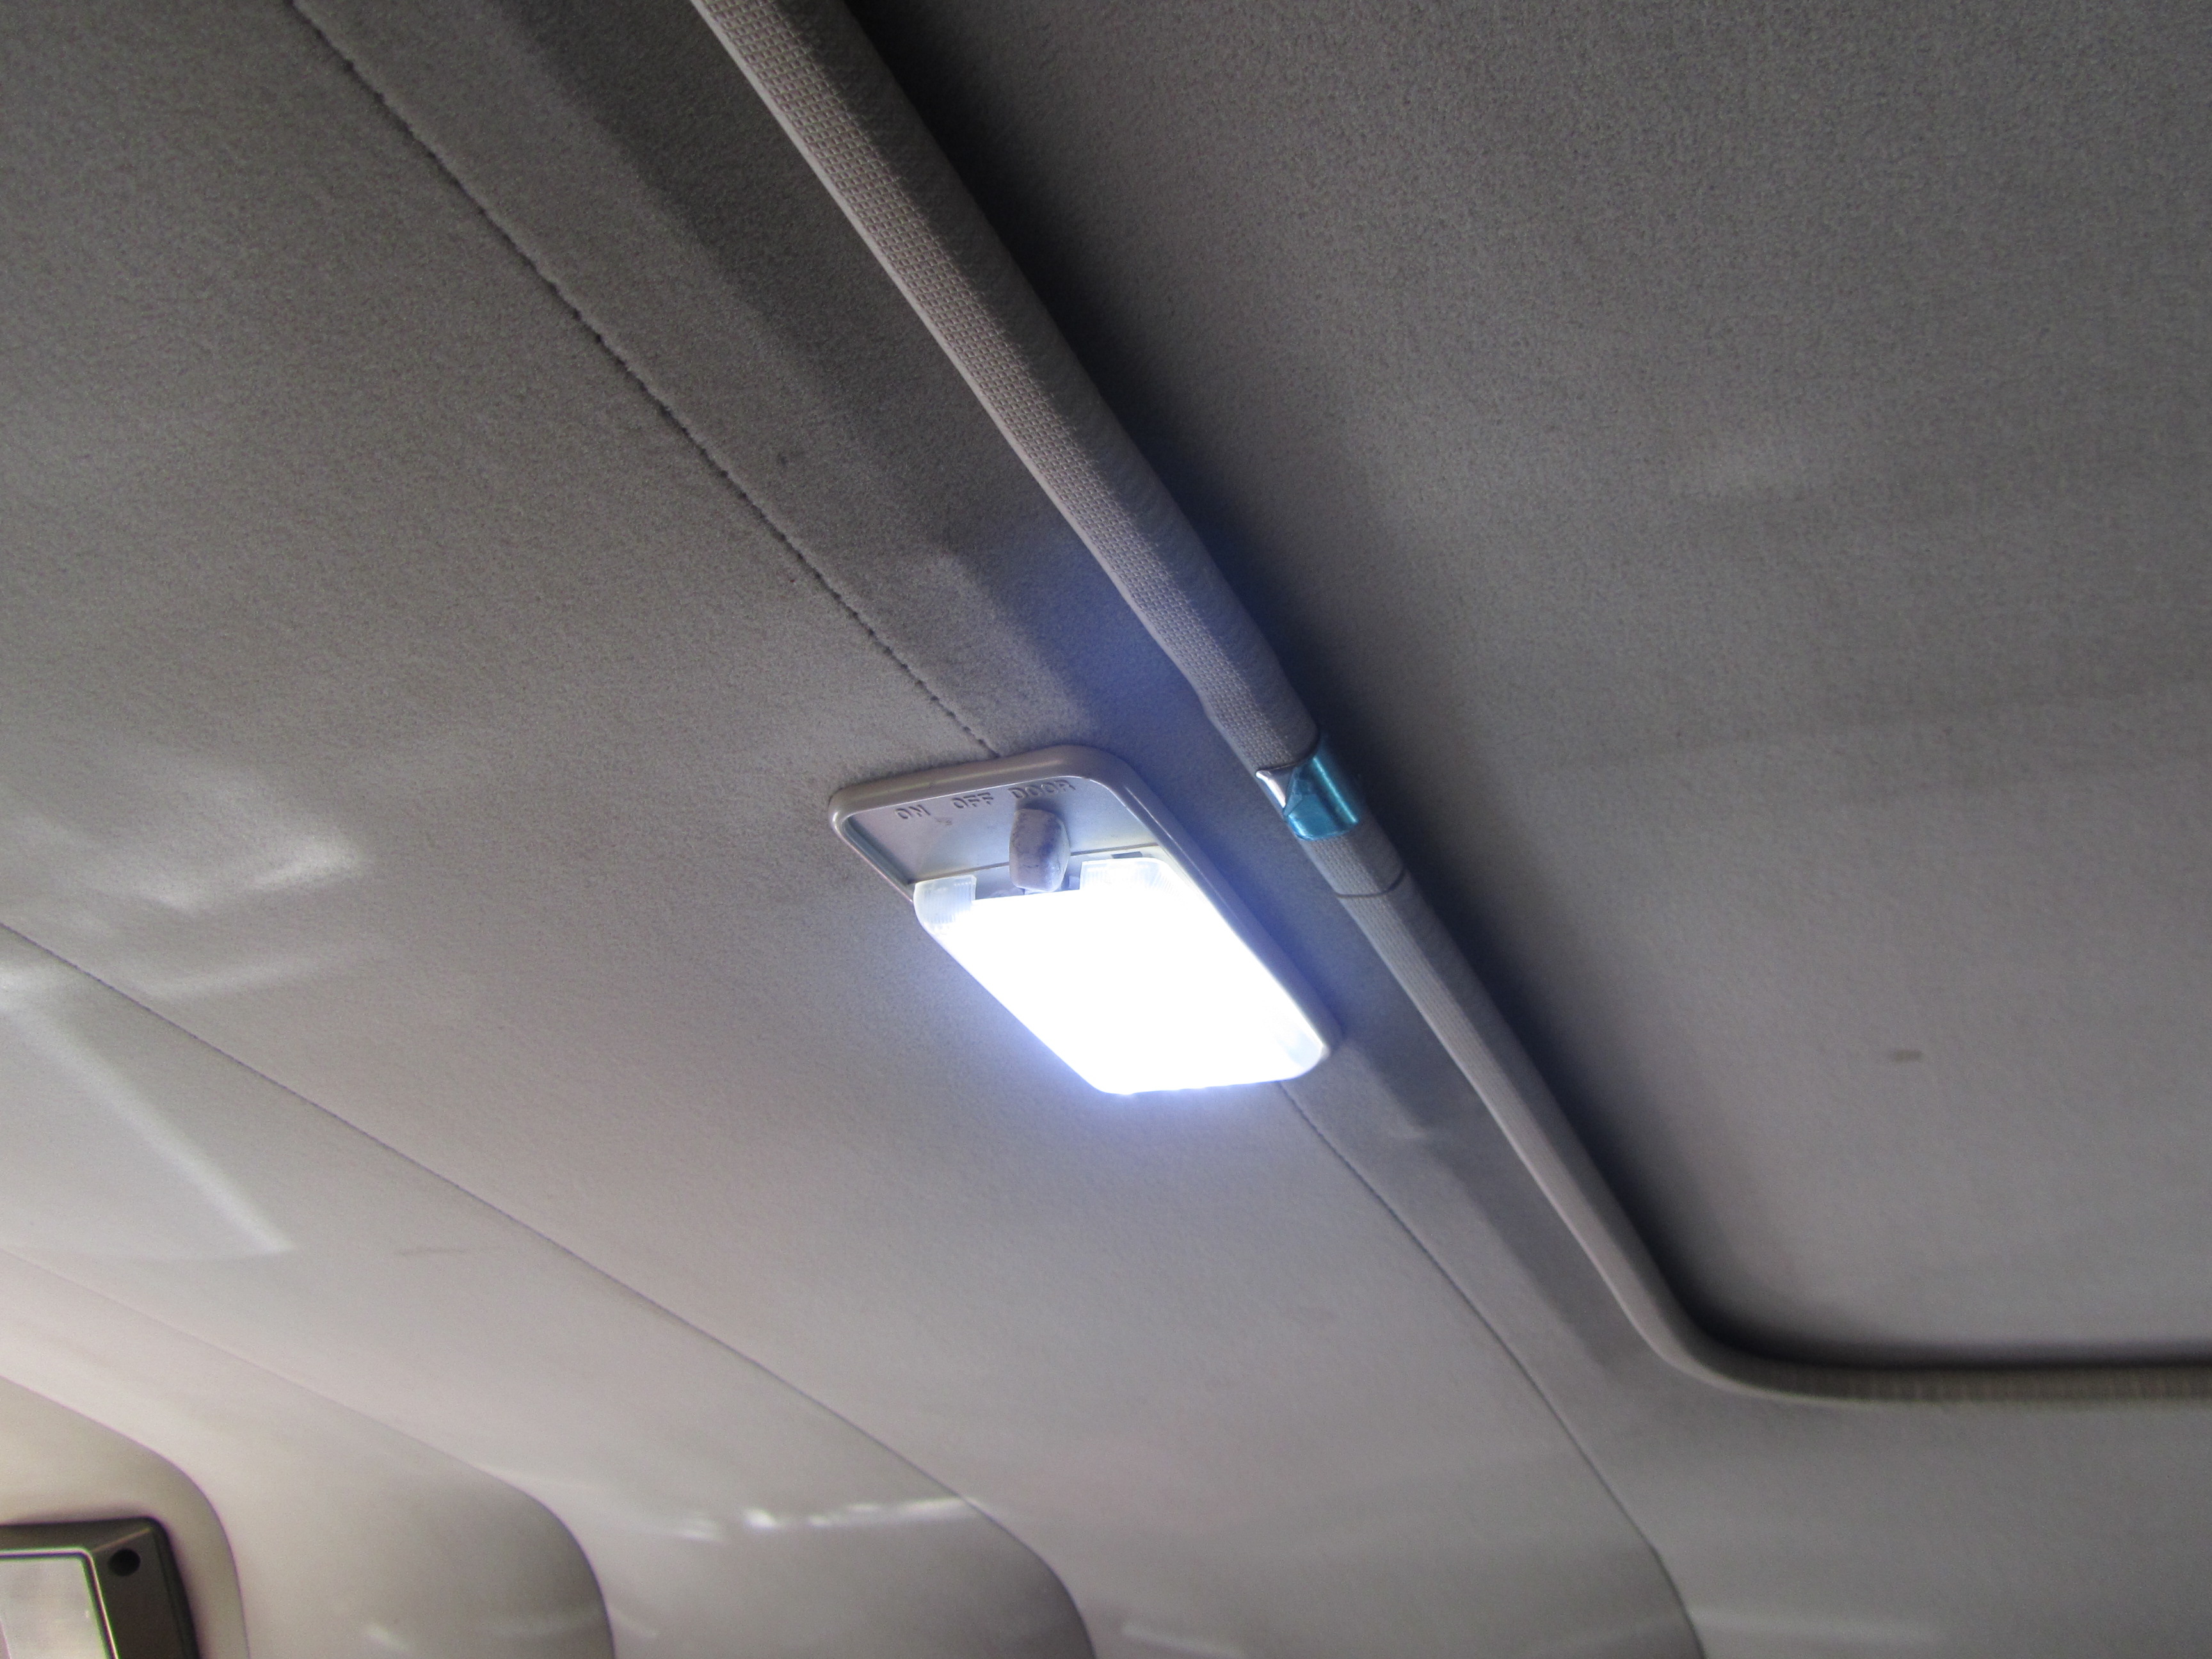
A few months ago I had bought a few flat SMD LEDs to fit into the overhead light. They are 12v, so I squeezed two into the housing and connected them in series to cope with the 24v electrics on the Landcruiser. Nice and bright, and they run a lot cooler than the incandescent they replace. These are 2 - 36 SMD panels.
Installing the LEDs.
Undo the screws holding the dash board components in place. You will need to remove both the section that holds the speedo cluster, and the lower section that covers the Heater controls and holds the toggle switches. Dropping the steering wheel helps, and the speedo cable is held in by a clip that needs squeezing with small hands then it releases the cable. Awkward to get at.
Once it is all apart, replace everything you can see and test it. You can plug the wiring harnesses back together for testing without reinstalling the whole dash. You MUST test the LED installation as they are polarity dependent, unlike incandescents. If they don't work, just remove them and turn them around 180°. If they still don't work, bend the little wires at the bottom of the LED so you be sure they are contacting the contacts in the light fitting. All my LEDs worked eventually, i.e. I had was not supplied any bad LEDs.
Cost
Overall cost was about $75. Major cost was the CREE reversing lights at $30 a pair.
Worth it.
Yes
If what I have written has been helpful to you, please consider a donation to help with my web serving costs. Thanks
